T-Mobile introduceert Android in Nederland en heeft hieromheen een challenge georganiseerd. Deze challenge heb ik vandaag gewonnen!
Continue reading “Hoodprijs T-Mobile Android Developers Challenge”
Java DevOps engineer / Scrum Master
T-Mobile introduceert Android in Nederland en heeft hieromheen een challenge georganiseerd. Deze challenge heb ik vandaag gewonnen!
Continue reading “Hoodprijs T-Mobile Android Developers Challenge”
Ten hours ago I released my first application into Android Market. And what do you know.. over 1000 downloads already!
It is a simple ‘pregnancy ticker’ which gives you basic information about how far you’re along. There is a lot of positive feedback and suggestions that will be taken into account when releasing an update.

Some of the new features will include: adjustable color themes, baby pictures and background information.
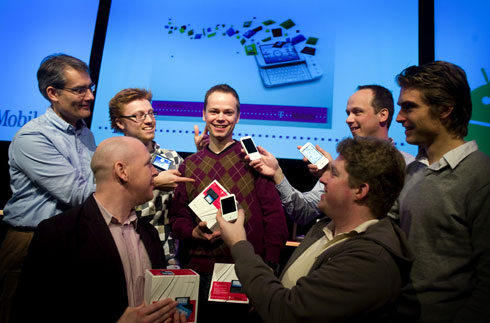
Today I received a call from the organizers of the Amsterdam Android dev camp 2009 in which they told me that Meter Maid has been nominated for a prize!
During the Dutch T-Mobile launch of G1 /Android all 5 winners will be announced and the applications will be presented.
The launch is next Thursday and will be held in Pakhuis de Zwijger.
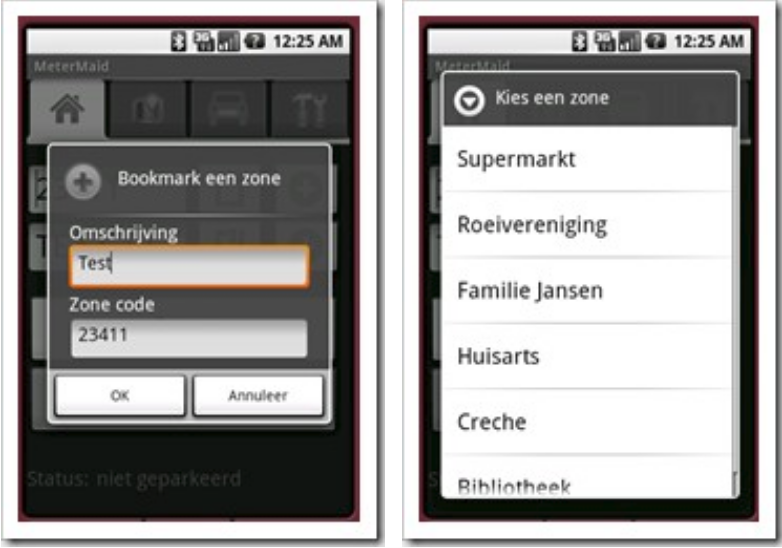
Because the video does not show the screens very clearly, this post contains some screenshots.
On the left side you see the main screen when the status is ‘not parked’, on the right side you see a shot of the screen just after the ‘start parking’ button has been hit. The status is changed, a progress bar keeps running as an indication that you are currently paying for parking. Also the system notifies you that a text (SMS) has been sent and shows the exact contents of it.

The following screens show some details relating to bookmarking zone codes. Left side shows a bookmark in progress, right side shows the bookmark picker.
Today I finished my first Android application, it’s called “Meter Maid” and basically takes away the hassle of texting zone codes and license plate numbers when using SMS (text) parking in a paid parking zone. It saves time, effort and prevents human errors (read: parking tickets!).
The application has been submitted to the Amsterdam Android Devcamp Challenge 2009.
Watch the video for a demo (Dutch language warning).

When you arrive at your destination, fill in the zone code and press the ‘start parking button’. If you’ve already parked at this destination before then you can select the zone code from the bookmark menu. When you are leaving all you need to do is press the ‘stop parking’ button.
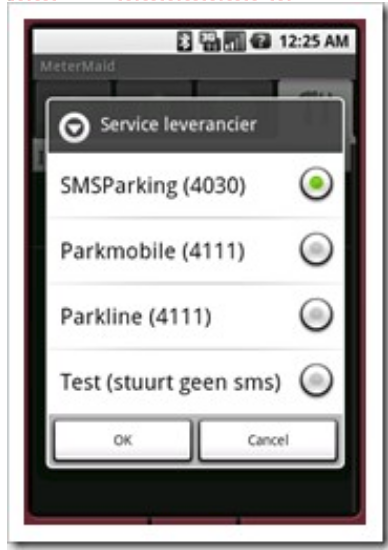
A user of this application needs to have a subscription with one of the supported text parking companies (currently ‘SMSParking’, ‘ParkMobile’ and ‘Park-Line’ – all Dutch companies). These companies will bill you weekly or monthly.
There’s room for improvements and more innovations. I plan on releasing an English locale and support for English text parking companies, as text parking is also widely used in the UK.
After playing around with the emulator for a while it was time for my experimental application to run on a real phone.
Using Eclipse, these are the steps to take:
Step 1.
Connect your phone with your development machine using its USB cable. Make sure that the device is visible from within the DDMS perspective (you can open the perspective via Window –> Open perspective). If it is not visible then you might need to install the USB driver, follow instructions from Anddev to fix it.
Step 2.
Right click the Android project that you want to install on your phone and select “Run As” – “Android Application”

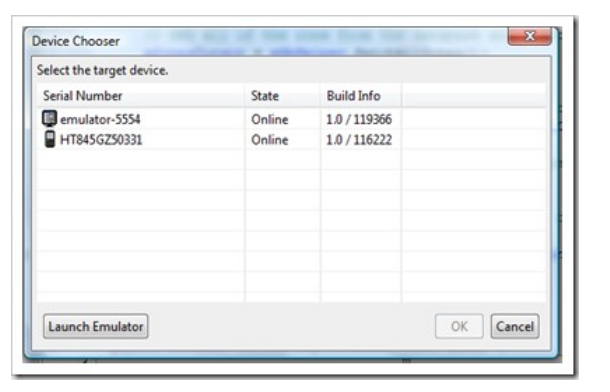
Step 3.
Now choose the device you want to use. If you have the emulator running then you’ll see the emulator as well. Click on OK.
That’s it! I did not even have to change the configuration of the G1 to accept applications from ‘unknown sources’ (can be found under settings –> applications). This might be because it is a development phone, so it could be that this should be switched on when using a regular G1.
Alternatively it is possible to use the command line, the adb (Android Debug Bridge) command allows you to install applications and much more.
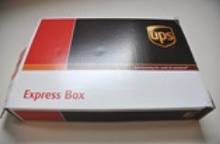
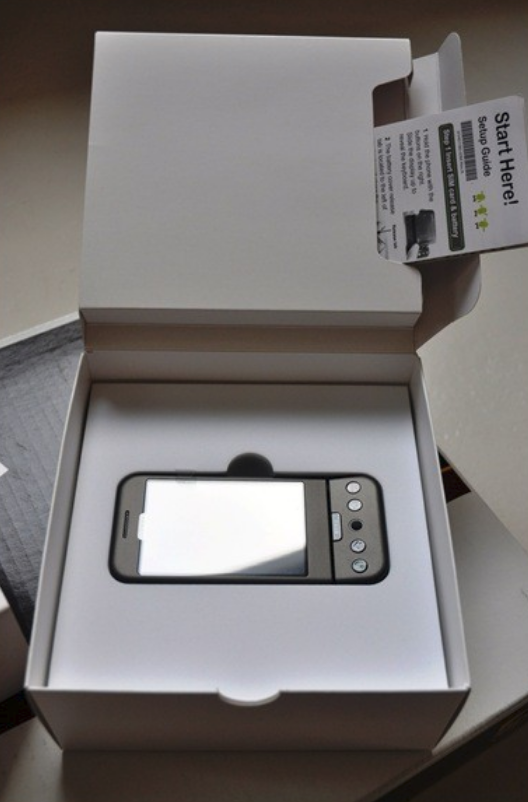
Monday night I finally ordered the G1. The development phone turned out to be cooler and cheaper than the T-Mobile introduction deal, so I got it from Google directly and not from T-Mobile. It arrived Wednesday morning. Processing and shipping from the USA to Europe within 36 hours – that’s fast!
A big box contained the small box:
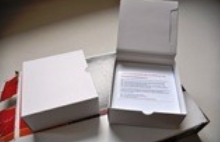
There is a small note included that contains the set-up instructions. It is mandatory to create a Google account and log into that account to complete the set-up. A mobile data plan is necessary to do this, you cannot use a wi fi network. There are ways to work around this, though.
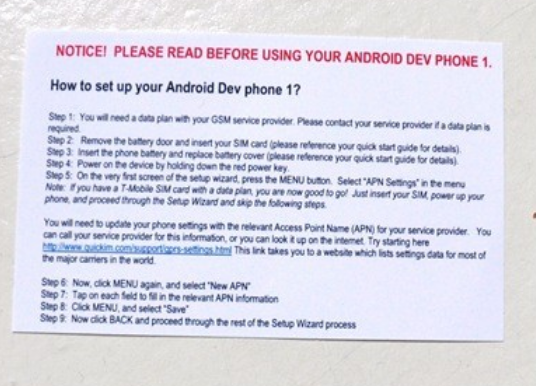
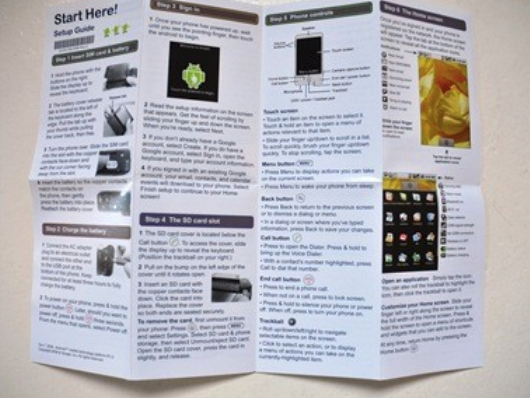
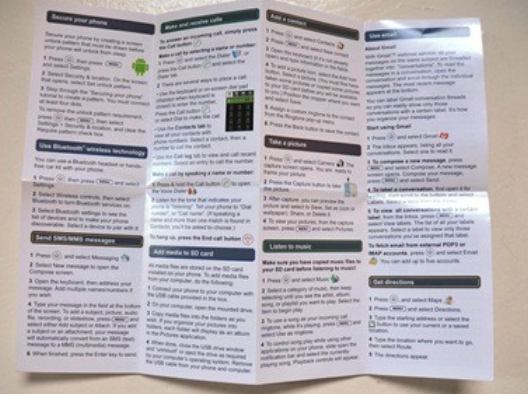
Hidden in the top of the box there is a compartment that contains additional set-up instructions.
It looks like these instructions are the regular instructions for the non development phones.
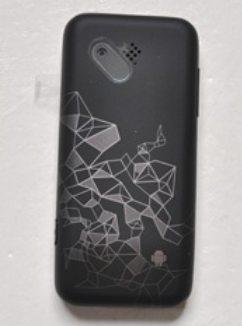
The phone itself has a print on the back.
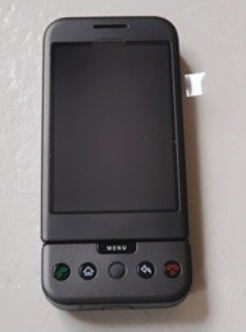
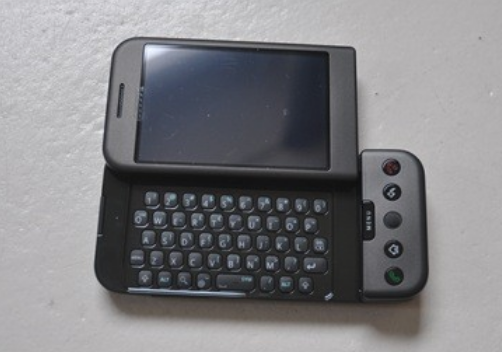
If you fold out the phone it looks like this.
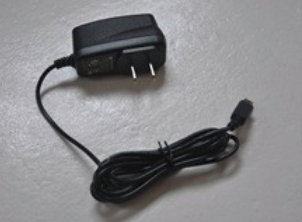
Included in the box is an AC Adapter, it has rectangular shaped plugs but works on any voltage between 100 and 240. This means I only need a cheap 1 euro converter to be able to plug it into a European socket. The phone can also be charged using the included USB cable.
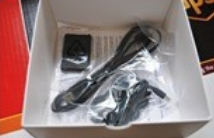
The rest of the box contains the battery, a headset and a USB cable.
After having some ideas for mobile applications I installed the Android SDK today. It only takes a few minutes and comes with a full swing emulator and Eclipse plugin.
Just great!
