As I like to work at night I bought a Ducky Shine III keyboard a few years ago. Over time more and more LED’s started to fail. It seems that Ducky sent out a few batches where this was common. For a long time it was not bothering me, but last month I counted over 20 LED’s not working anymore. This was not acceptable!
Being a DIY guy I opted to replace the broken LED’s. YouTube has some video’s with detailed instructions that showed me that it can be done.
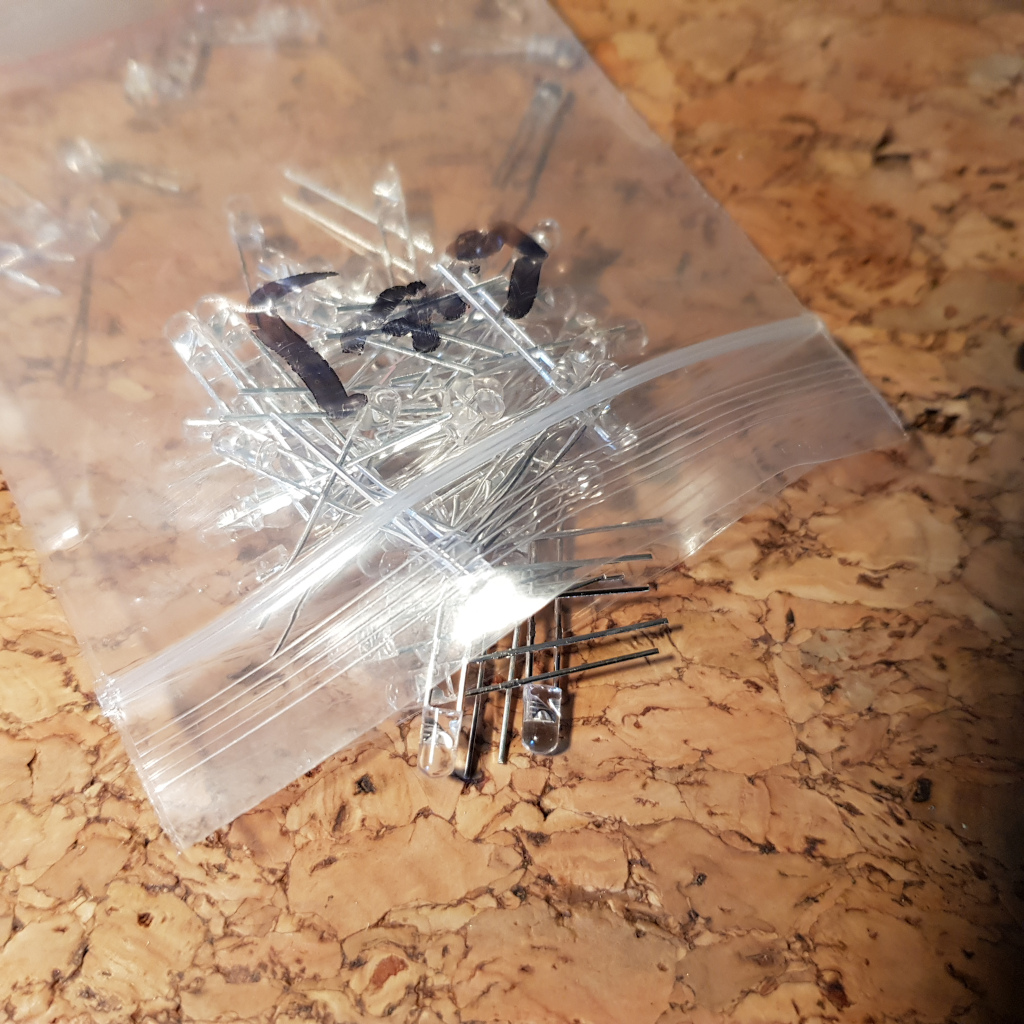
After ordering replacement LED’s I practiced desoldering on a discarded record player. It required some practice, but after 50 tries I was feeling like a professional!
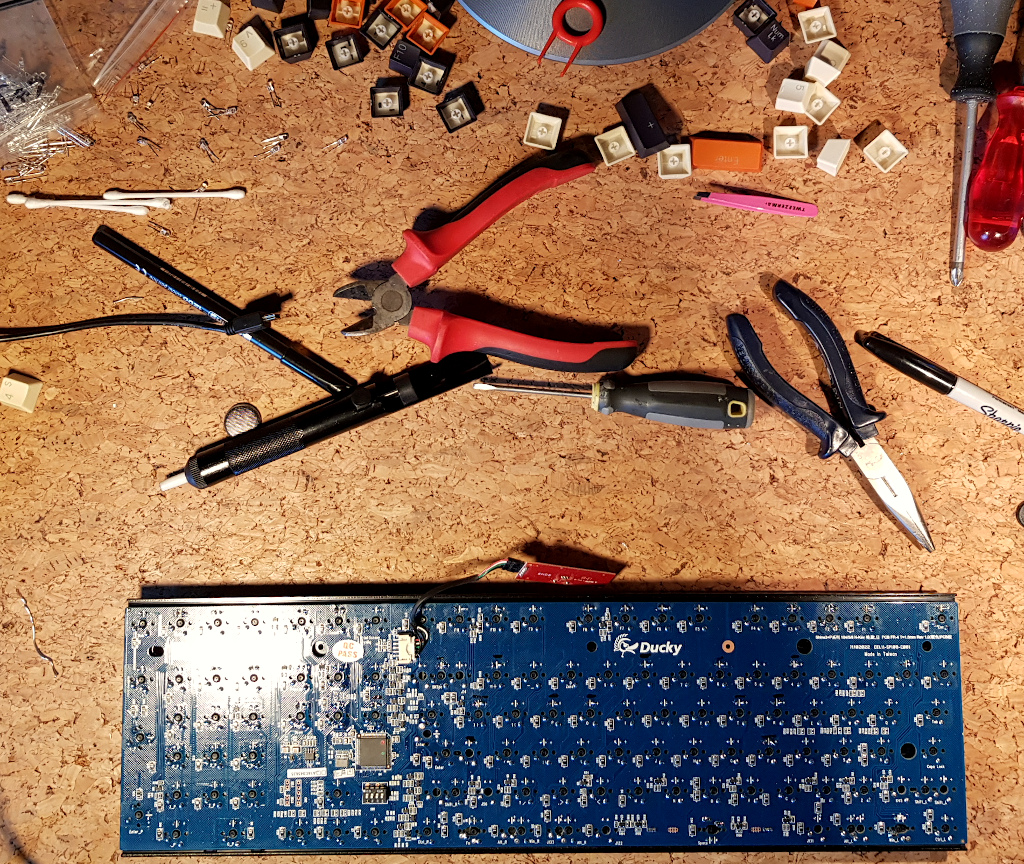
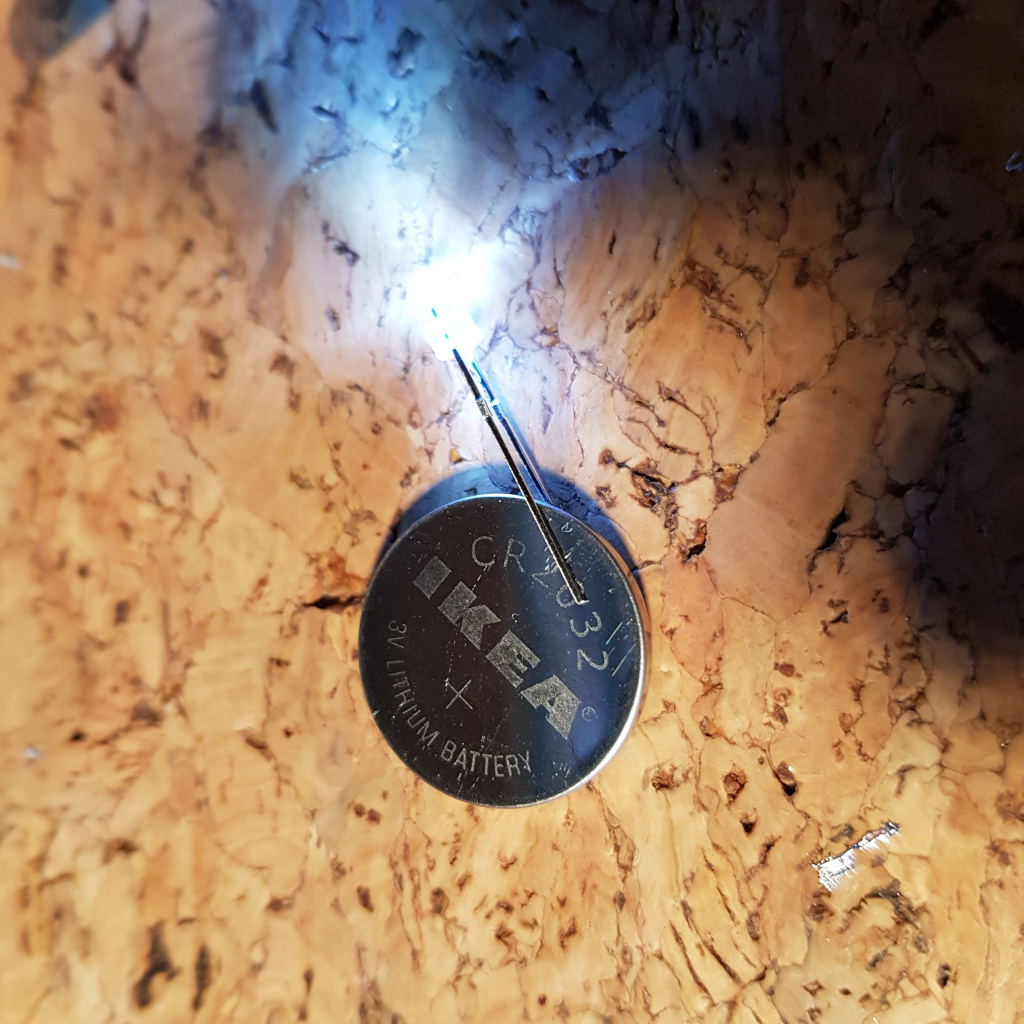
When the replacement LED’s arrived it was time to open up the keyboard and start the repair. It turns out that you can easily test if an LED is working or not using a CR2032 battery, so checking the LED before putting it in was an easy step 1.
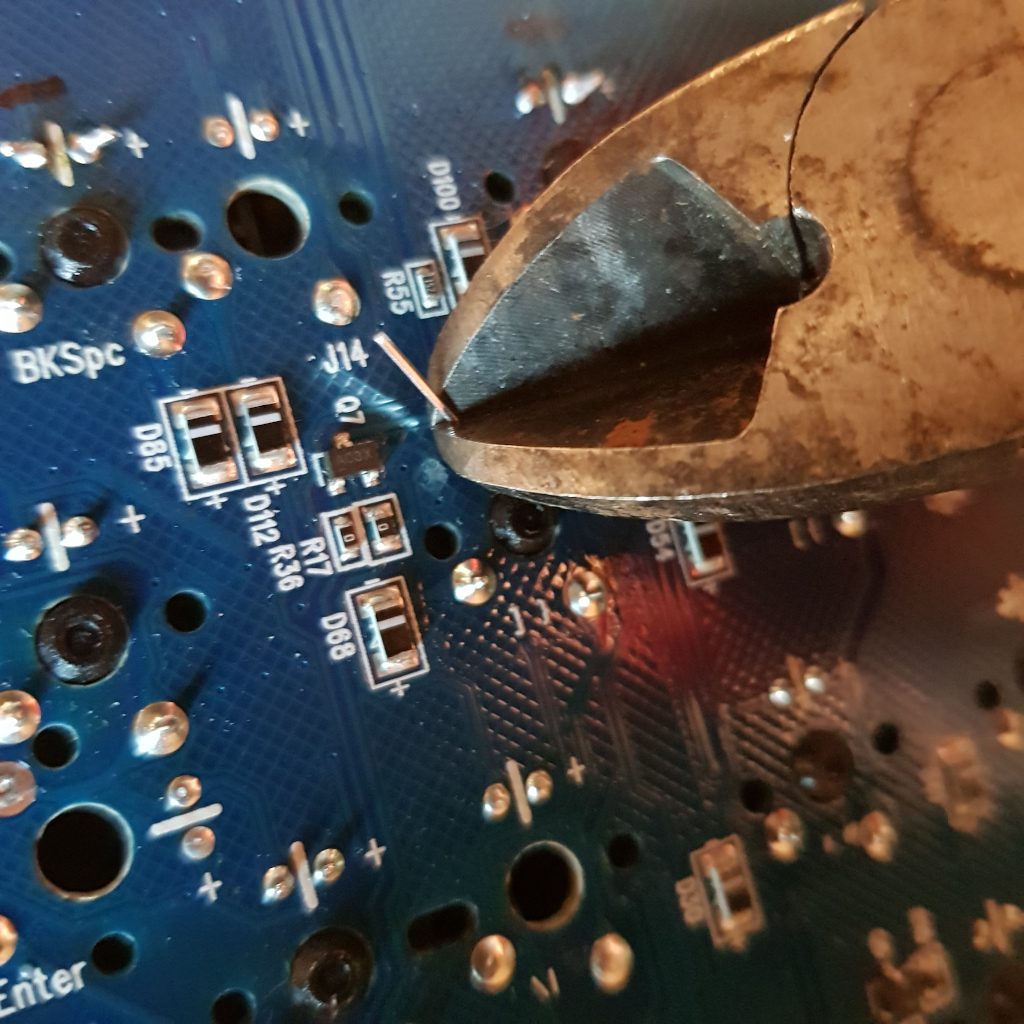
The second step, however, was a bit harder than I expected. It seems that an 80’s record player its PCB is quite different from a modern era keyboard PCB. The holes are much closer to each other and the soldering was much more refined. There’s like 1.5 mm of space between the ends of the legs. This threw me off a bit, but a bit more practice made me comfortable again and in the end I was able to take out an LED and replace it within a few minutes.
Soldering turned out to be a very interesting topic, there is a vast amount of web pages and video’s. As I was wondering if you should cut the legs before soldering or after soldering I was able to find quite a bit of literature about it. In the end I settled for US military guidelines 🙂 and opted to bend, cut and then solder. This prevents damaging your soldering job if you would do it the other way around.
I am very happy with the result. 80% of the replacements look quite professional.
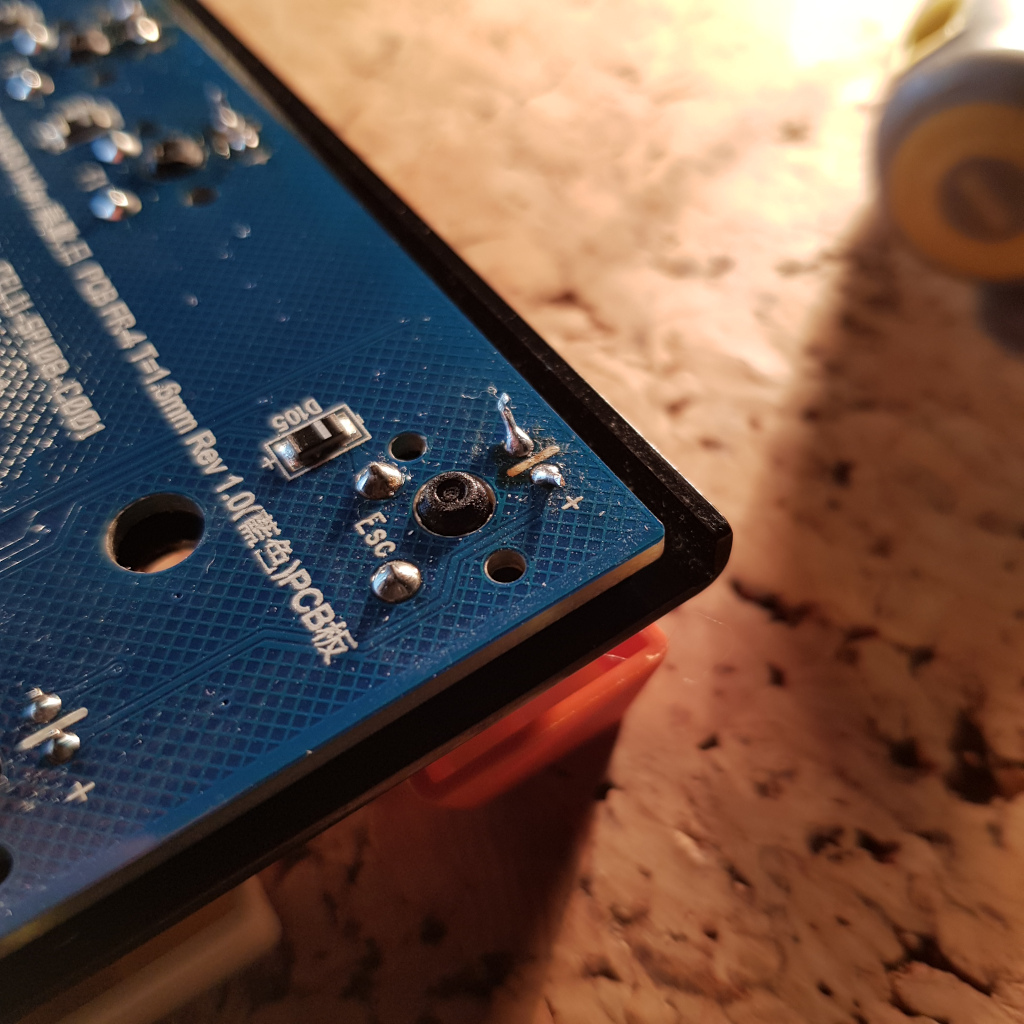
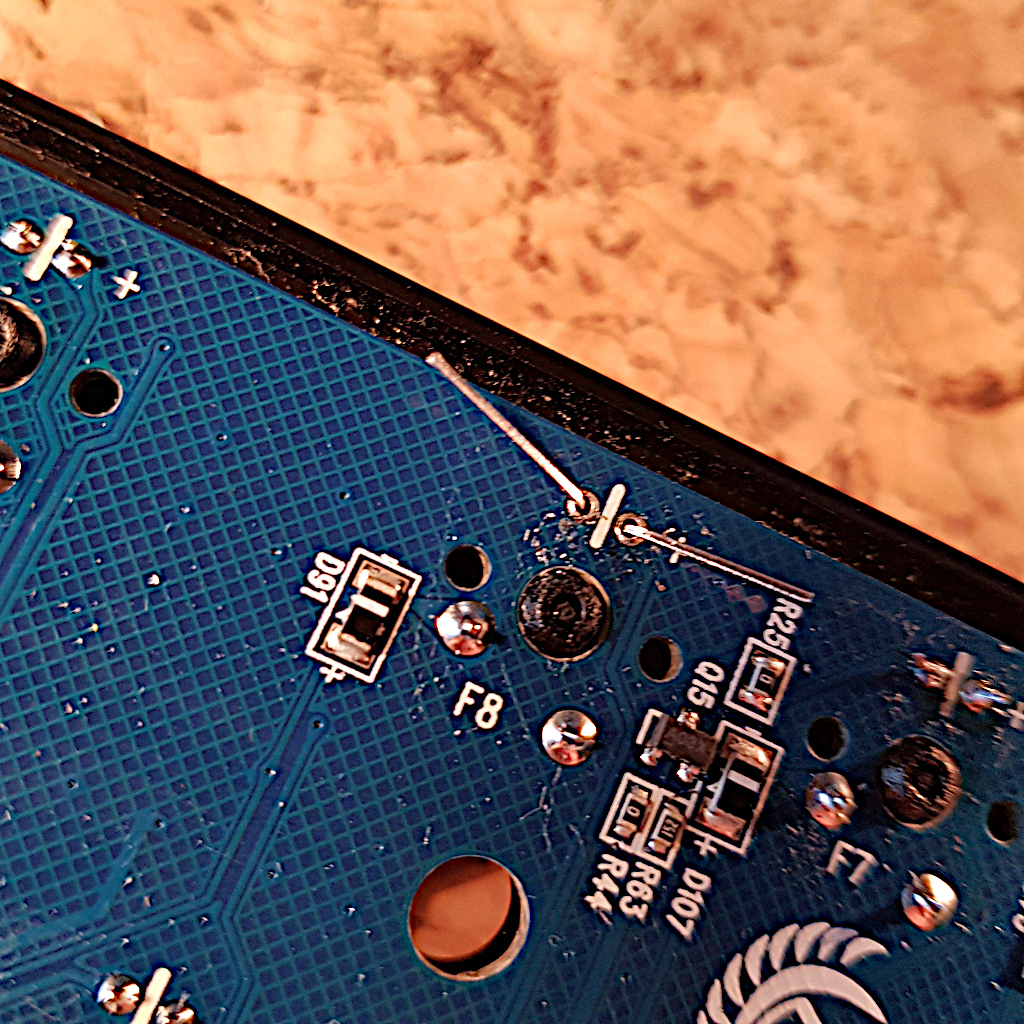
Unfortunately I did manage to mess up a bit in the beginning. As I was thrown off guard by the fine PCB I might have overheated a few joints, causing 6 F-key LED’s not to work. I think some of the circuits might be broken as the PCB has melted or something like that. I double checked for often made mistakes such as a reversed polarity, also I cleaned up the joints – but neither solved the issue.
In the end I am very happy with the result for several reasons:
- The majority of the LED’s are working again
- I learned something new by going out of my comfort zone
- An Arduino project is becoming more feasible with the newly obtained skills
- The project gave me a great sense of achievement

If you have time and patience projects like these are highly recommended!