Replacing broken LED’s on my Ducky keyboard

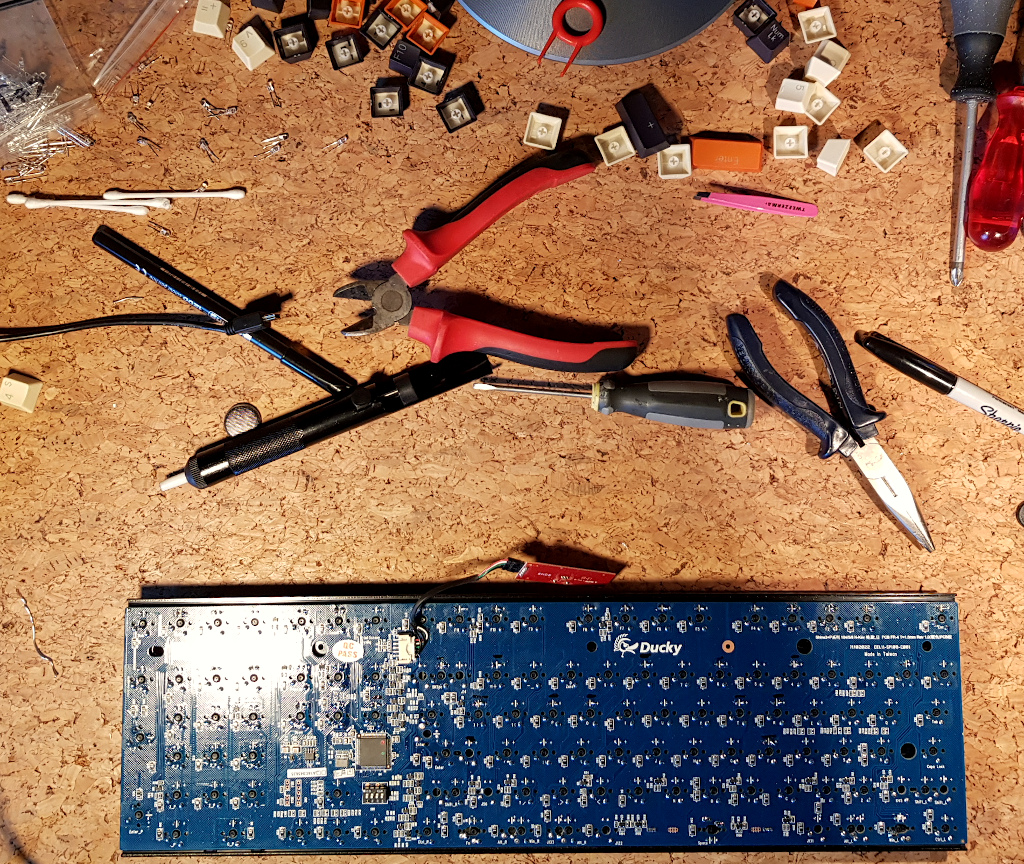
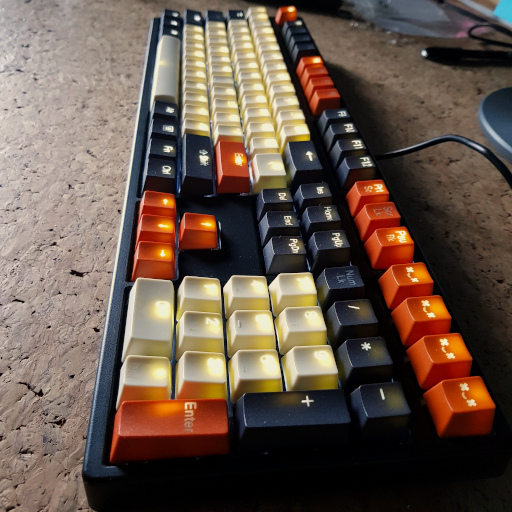
Ducky keyboard ready for repair

As I like to work at night I bought a Ducky Shine III keyboard a few years ago. Over time more and more LED’s started to fail. It seems that Ducky sent out a few batches where this was common. For a long time it was not bothering me, but last month I counted over 20 LED’s not working anymore. This was not acceptable!

Being a DIY guy I opted to replace the broken LED’s. YouTube has some video’s with detailed instructions that showed me that it can be done.

After ordering replacement LED’s I practiced desoldering on a discarded record player. It required some practice, but after 50 tries I was feeling like a professional!
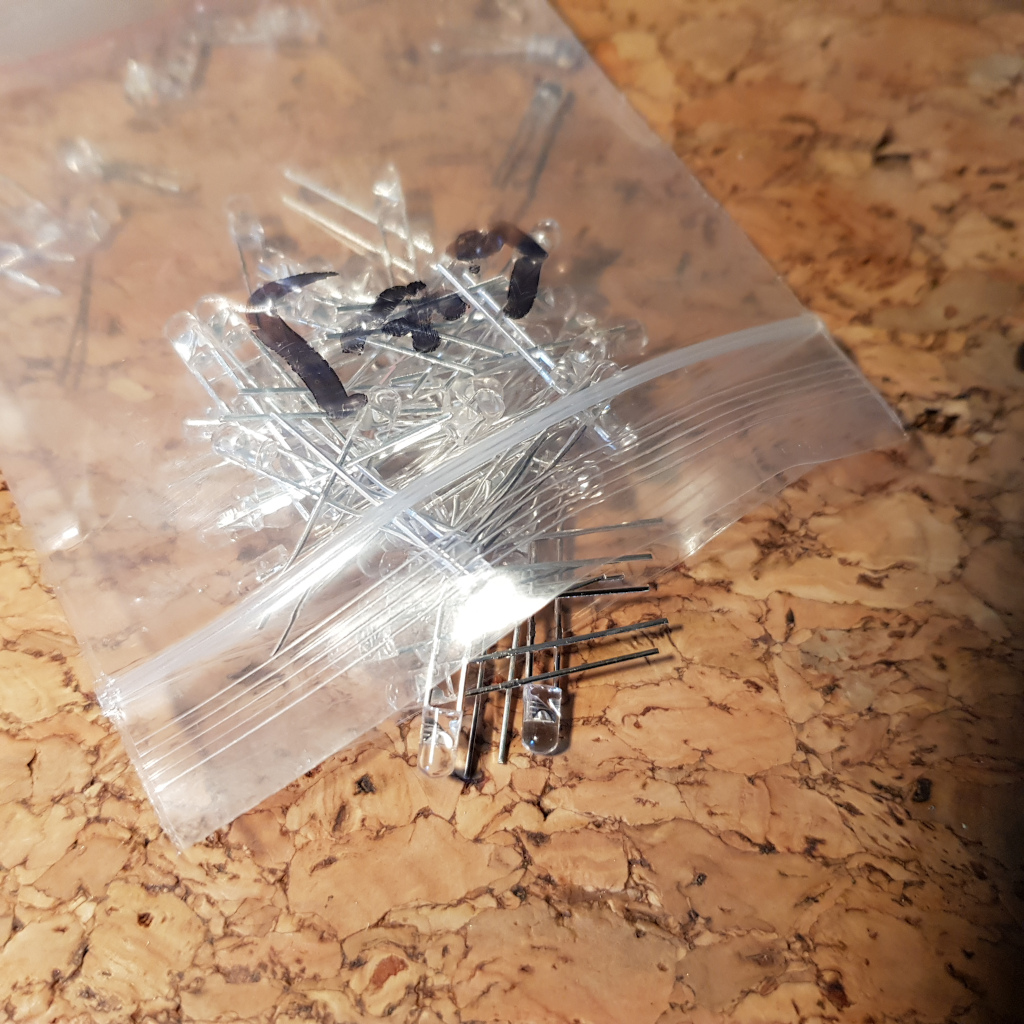
replacement led's

When the replacement LED’s arrived it was time to open up the keyboard and start the repair. It turns out that you can easily test if an LED is working or not using a CR2032 battery, so checking the LED before putting it in was an easy step 1.
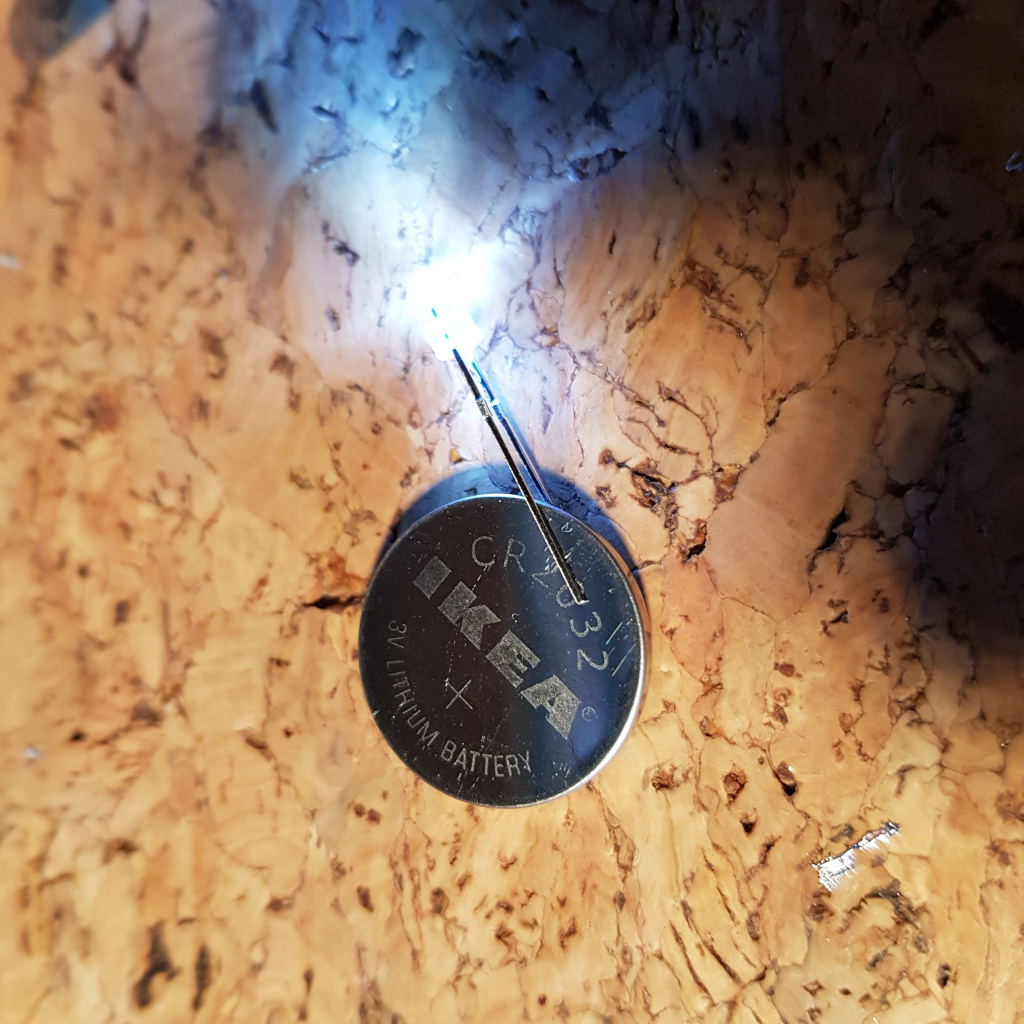
The second step, however, was a bit harder than I expected. It seems that an 80’s record player its PCB is quite different from a modern era keyboard PCB. The holes are much closer to each other and the soldering was much more refined. There’s like 1.5 mm of space between the ends of the legs. This threw me off a bit, but a bit more practice made me comfortable again and in the end I was able to take out an LED and replace it within a few minutes.
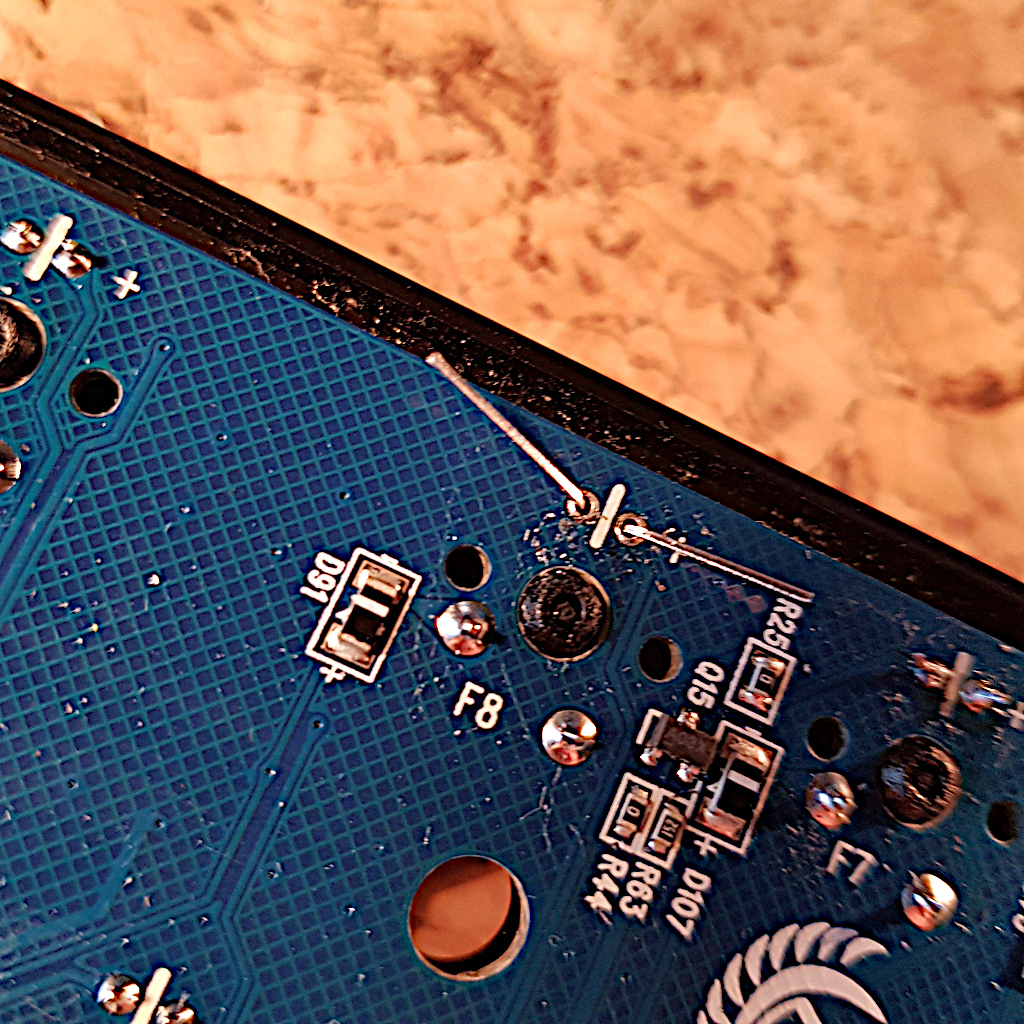
Soldering turned out to be a very interesting topic, there is a vast amount of web pages and video’s. As I was wondering if you should cut the legs before soldering or after soldering I was able to find quite a bit of literature about it. In the end I settled for US military guidelines 🙂 and opted to bend, cut and then solder. This prevents damaging your soldering job if you would do it the other way around.
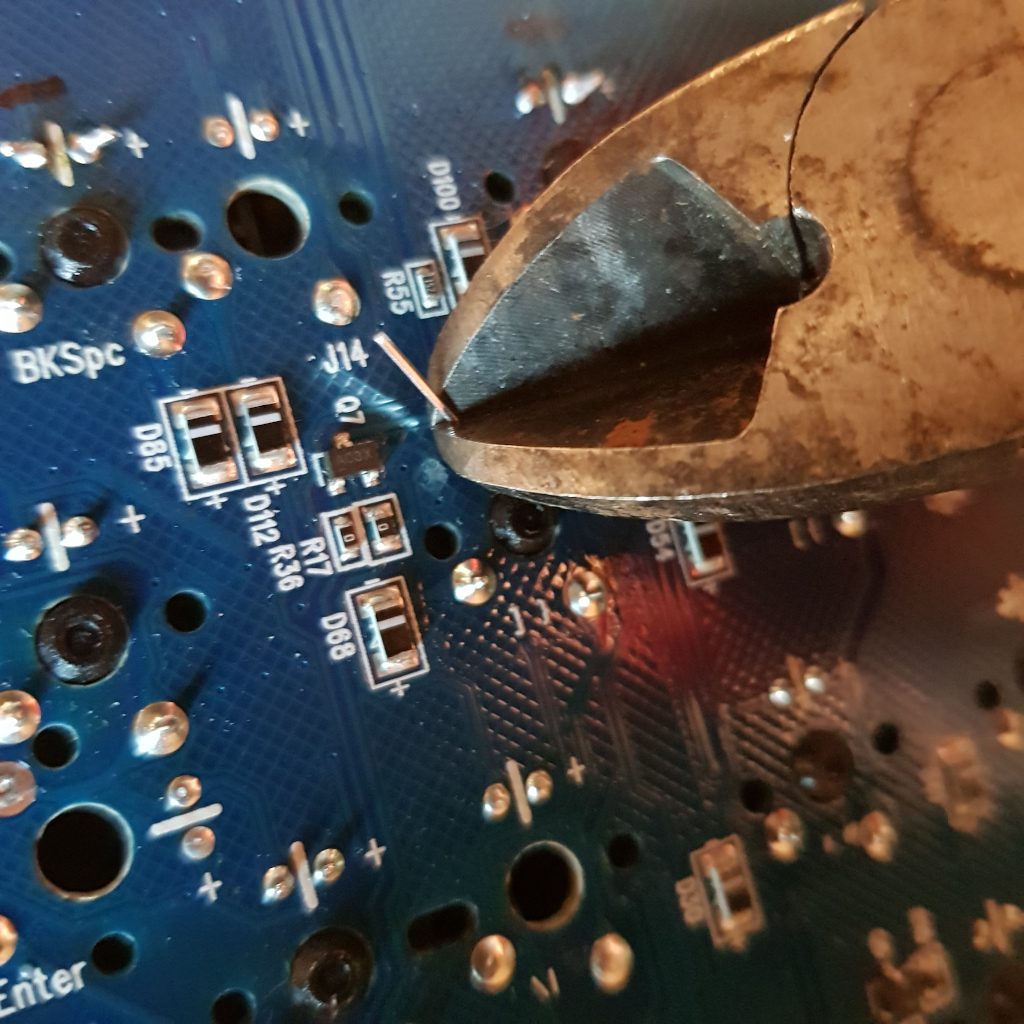
cutting LED leg

I am very happy with the result. 80% of the replacements look quite professional.
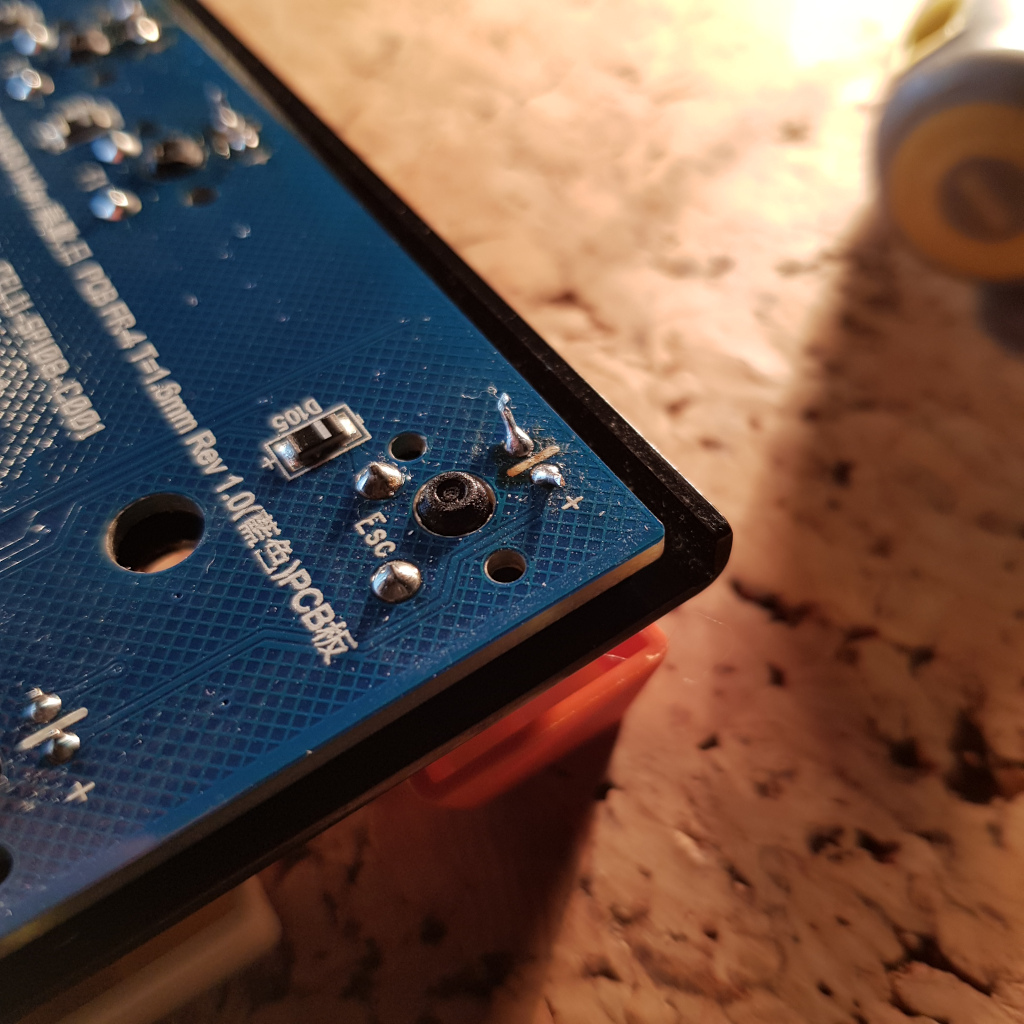
Unfortunately I did manage to mess up a bit in the beginning. As I was thrown off guard by the fine PCB I might have overheated a few joints, causing 6 F-key LED’s not to work. I think some of the circuits might be broken as the PCB has melted or something like that. I double checked for often made mistakes such as a reversed polarity, also I cleaned up the joints – but neither solved the issue.

In the end I am very happy with the result for several reasons:

  1. The majority of the LED’s are working again
  2. I learned something new by going out of my comfort zone
  3. An Arduino project is becoming more feasible with the newly obtained skills
  4. The project gave me a great sense of achievement
If you have time and patience projects like these are highly recommended!

Advent of Code 2018

This year I was introduced to the Advent of Code by Julien and Hielke, who organized a local advent.

It is a great initiative, it is nice to be focused on coding and it adds to a festive atmosphere. Together with four other team members the challenge was accepted. We all took a different approach, as it also stimulates learning a bit about new stuff (e.g. using Kotlin vs Java).

Due to time constraints I have solved only the first half of the advent puzzles, and also by using ‘plain old Java’. But my personal challenge is to look back at the code and apply a better (more modern) alternative in the time to come.

My code can be found at https://github.com/martinkoel/adventofcode-2018 , be warned – it is ‘Hackathon style’ code – as you get more points the faster you finish..

The current state of PSD2 implementations in The Netherlands

PSD2 is the name of a European regulation that tries to achieve a better banking experience for bank clients. One of the focus points is ‘open banking’. Banks must open up their systems to third parties. This will allow bank clients to bank through non-bank organizations. With consent of the client a third party can retrieve information and initiate money transfers.

All European banks need to be compliant in September 2019. With 2019 just around the corner, it is interesting to check out the current state of the implementations. Luckily I was able to attend a tech talk by Mark Wanders and learn all about it, from a developer’s perspective.

The conclusion is that most of the big banks still have some work to do. But the small and young Bunq bank is in the lead.

The Bunq API is available since March 2017 in both sandbox and production environment. They offer the full functionality and cater more towards developers. This means it is easy to onboard: just request an API key from the app for access to your own accounts. For access to other accounts, use OAuth2. It is also is to build with, use the SDK for your preferred language (Java, C#, Python, PHP). All the certificate management, header signing etc. is taken care of for you!

Not all banks offer all functionality yet, or make it difficult to access (OAuth2, mutual TLS and HTTP header signing –
very secure, but potentially a hassle to implement and debug).

Another interesting finding is Payment Requests are being implemented by several banks.

Now try for yourself:

Bonus

Me at Bunq, when they hosted a DevOps Amsterdam meetup 🙂

Swiss Cheese model

A while ago I posted an article about the PRISMA incident analysis model. Related to this subject is the concept of the “Swiss Cheese Model”. This model shows why things can still go wrong when there are multiple layers of protection in place. 


In every layer there are holes, and sometimes these holes line up – resulting in an incident. Also see the Wikipedia Swiss Cheese Model page.

Aandacht voor onderhoud, over making en mending

Engineers en managers besteden veel aandacht aan het ontwikkelen van nieuwe applicaties. Nieuwe software maken is cool. Het is zelfs zo cool dat over de startupfase van Facebook een film is gemaakt.

Wat wel eens vergeten wordt, is dat alles wat gebouwd is ook moet worden onderhouden. Maar als een engineer of manager moet kiezen tussen het werken aan een nieuwe applicatie of het onderhouden van een bestaande, dan is de keuze meestal snel gemaakt. Nieuwbouw wint. Dit is raar.

Continue reading “Aandacht voor onderhoud, over making en mending”

Book Review: The Pragmatic Programmer

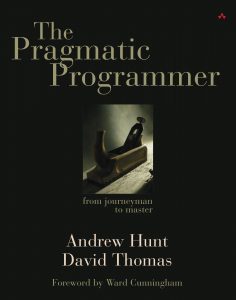
Als engineer zijn er een aantal klassiekers die je op je plank moeten hebben staan. Een van die boeken is “The Pragmatic Programmer” van Andrew Hunt en David Thomas.

Het boek is een samenvatting van de inzichten die de auteurs in hun carrière hebben opgedaan.  Met gezamenlijk 40 jaar ervaring hebben ze dit boek aardig weten te vullen! Het gaat niet alleen over handigheden en tools, maar bijvoorbeeld ook over hoe je je als programmeur blijft ontwikkelen, de instelling die een goede programmeur zou moeten hebben en typische valkuilen die je in ieder project tegenkomt. Het boek leest vlot en stikt van de voorbeelden.

Kennis Portfolio

Wat ik leuk vond om te lezen is het stukje over de “Kennis Portfolio” van een engineer.

Continue reading “Book Review: The Pragmatic Programmer”

Niet technische boeken voor developers en engineers

Naast technische boeken is het voor developers en engineers ook belangrijk en leuk om boeken te lezen die niet technisch zijn. Deze boeken heb ik gelezen, of wil ik nog gaan lezen.

Waarom focus zo belangrijk is

Binnen Scrum en Agile is focus erg belangrijk. Op verschillende manieren wordt het houden van focus gestimuleerd.

Waarom is focus eigenlijk zo belangrijk?

Uit verschillende onderzoeken blijkt dat multitasken niet efficiënt is. Het switchen tussen verschillende onderwerpen kost namelijk tijd. Het kan zo maar 20 minuten duren tot je weer helemaal in de flow bent als je tijdens het programmeren even snel een telefoontje beantwoordt.

Verschillende projecten tegelijkertijd uitvoeren is ook niet efficiënt. Hoe meer projecten je tegelijkertijd onderhanden hebt, hoe meer tijd je in totaal nodig hebt om ze af te ronden.


Systematische Incidentanalyse met PRISMA

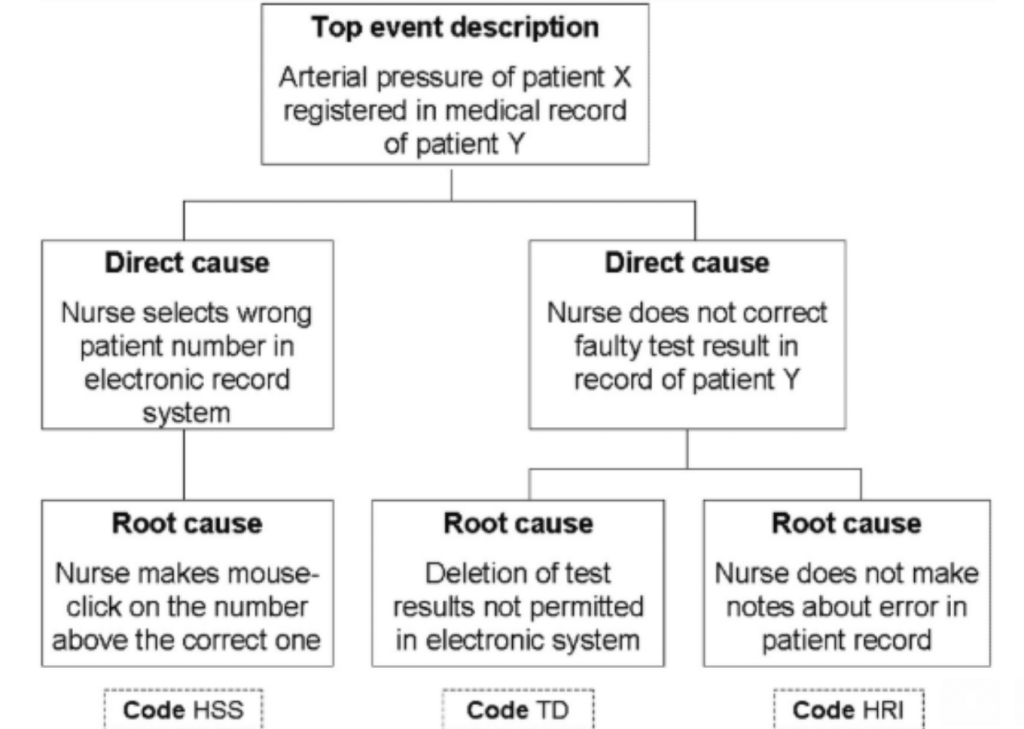
Incidenten zijn een kans om iets te leren en daarmee nieuwe incidenten te voorkomen. Binnen de medische wereld is PRISMA een bekende (en volgens Oxford betrouwbare) methode waarmee deze worden geanalyseerd. Onderstaand een voorbeeld van de visualisatie van een casus.

Binnen tech bedrijven kan deze methode ook nuttig zijn.

Een onderzoeksteam maakt aan de hand van beschikbare gegevens en interviews een chronologische reconstructie.

Het team legt in een oorzakenboom het logische verband vast tussen het incident en de basisoorzaken. De basisoorzaken kunnen direct fungeren om aanbevelingen tot verbetering te doen.

Geholpen door een classificatiemodel kunnen de resultaten van meerdere analyses gebruikt worden om patronen te ontdekken. Hiermee kunnen organisatiebreed verbeteringen worden onderbouwd.

Via deze link is een uitgebreide handleiding te vinden: https://www.zkn.nl/verbetermaatregelen-treffen.pdf