Android G1 Development phone (Dev phone 1)

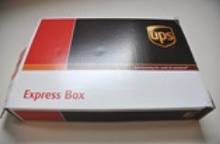
Monday night I finally ordered the G1. The development phone turned out to be cooler and cheaper than the T-Mobile introduction deal, so I got it from Google directly and not from T-Mobile. It arrived Wednesday morning. Processing and shipping from the USA to Europe within 36 hours – that’s fast!

A big box contained the small box:

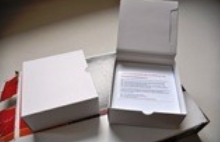
There is a small note included that contains the set-up instructions. It is mandatory to create a Google account and log into that account to complete the set-up. A mobile data plan is necessary to do this, you cannot use a wi fi network. There are ways to work around this, though.

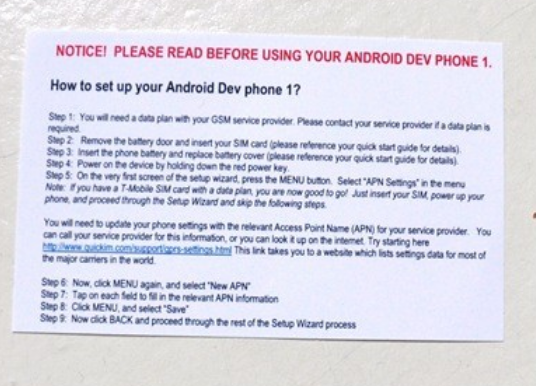
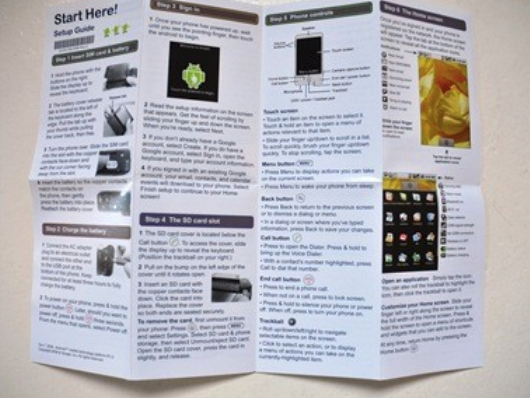
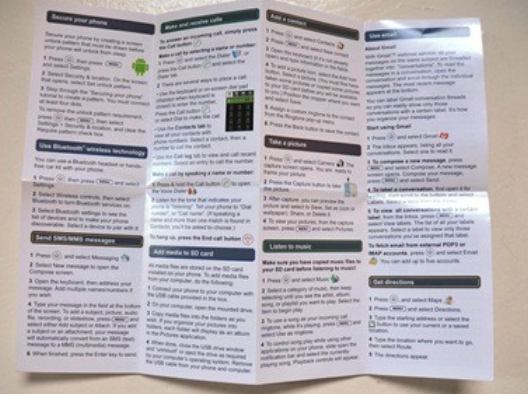
Hidden in the top of the box there is a compartment that contains additional set-up instructions.

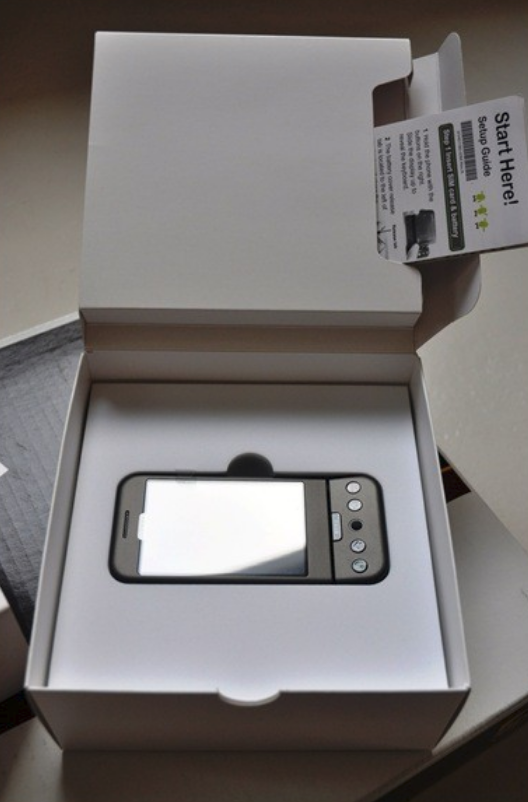
It looks like these instructions are the regular instructions for the non development phones.

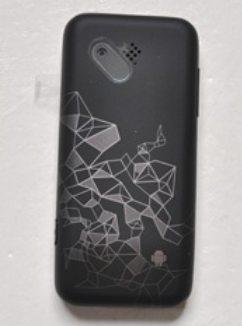
The phone itself has a print on the back.

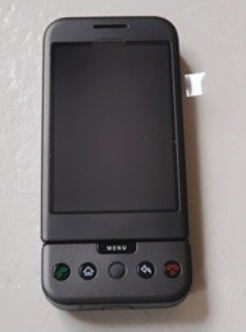
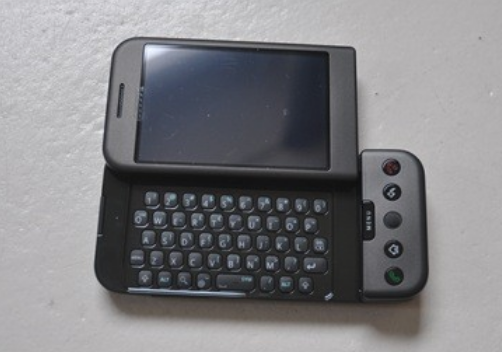
If you fold out the phone it looks like this.

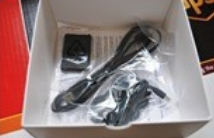
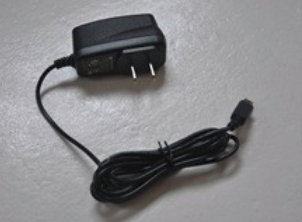
Included in the box is an AC Adapter, it has rectangular shaped plugs but works on any voltage between 100 and 240. This means I only need a cheap 1 euro converter to be able to plug it into a European socket. The phone can also be charged using the included USB cable.

The rest of the box contains the battery, a headset and a USB cable.

Wicket, Ajax panels and hung threads

The system administrators: 
– Why is your application using much CPU and much memory? And what’s up with these hung thread alerts in the server log? 
The test team: 
– Why is the application so slow? 
The programmers: 
– we don’t know! 
After a while we found out. The application its main page contains several Ajax panels, most of them can be typed as containers of ‘nice to have information’. In some test cases one of the Ajax panels kept showing: 

clip_image001

. It is something you do not mind if it doesn’t block the flow you’re in. It turned out that this little animated gif hid an infinite loop that was caused by unexpected output from a web service. 
Lesson learned: keep an eye on those friendly looking animated waiting gifs! They might just be hiding a monster!

Mounting a Lacie NAS under OpenSuse Linux

After a bit of a struggle I found out how to mount a Lacie (Samba) NAS under OpenSuse. 
There are two ways to mount it, for both ways it is needed to create a mount point directory. I created a directory called lacie under /mnt . This means the NAS can be reached via /mnt/lacie. 
You can do it by hand, but temporarily, as follows: 
sudo mount -t cifs -o username=the-username,password=the-password //192.168.1.3/lacie /mnt/lacie 
However, if you want it to be mounted automatically each time you boot, then you need to add a line to the file /etc/fstab: 
1) in the console, enter: kdesu kwrite /etc/fstab to edit the file (assuming you run KDE) 
2) add a line simular to this line: 
//192.168.1.3/lacie /mnt/lacie cifs 
username=the-username,password=the-password,uid=0,gid=0 0 0

Thinkwiki

Currently I am setting up an old Thinkpad laptop as a build and web server. For this task I installed the OpenSuse Linux distro on it. By switching to Linux I stumbled into problems as a noisy fan and not being able to update the BIOS. Luckily Google helped me out by unveiling the Think Wiki web site. This site is aimed at Linux Thinkpad users and has tons of useful information.

Adding a JavaScript script to the onLoad event using Wicket

After playing around with Wicket for a while and implementing a proof of concept I am now actually involved in my first Wicket project! A first time always comes with its typical problems, but with Wicket it certainly is not hair tearing. You can find a lot of good examples and faq’s on the net. 
However, I got stuck a while on how to get some javascript to be executed during the onLoad of a page. I could not find an out of the box answer to this. After struggling a bit, it boiled down to this:

add(new AbstractBehavior() { 
public void renderHead(IHeaderResponse response) { 
super.renderHead(response); 
response.renderOnLoadJavascript("alert('it works!')"); 

});

Front end development info

After a while of developing back-end applications I’m back at doing some front-end work. In relation to this I did some resource and found a few sites that are worth visiting: 

https://www.digitoegankelijk.nl/

This site is developed by the Dutch government and aims to provide web developers information about creating quality websites.

https://quirksmode.org/

Contains tons of JS and CSS information and examples

How to run a demo Wicket application in two minutes

Inspired by the enthousiastic reports of other people I decided to have better look at Wicket, the upcoming MVC framework. 
Wicket is great for separation of code and gui. A web page is made out of a class and an html page, no need for jsp’s! For more information have a look at the site: http://wicket.sourceforge.net/Features.html 
I decided that the best way to get my first Wicket experience was to install the Maven archetype project. And well, after a few minutes I was looking at the first Wicket page that was served from within my own Eclipse IDE!


If you have Maven 2 and Eclipse installed, all you need to do is: 
1. go to the command line 
2. type: mvn archetype:generate 
3. choose the wicket archetype (at this time, it is nr. 36) 
4. fill in the options (choose ‘wicket’ as artefactid) 
5. change to the ‘wicket’ directory that now has been created 
6. create an eclipse project file by typing ‘mvn eclipse:eclipse’ 
7. start Eclipse 
8. import the Wicket project by selecting ‘import existing project’ and the ‘wicket’ directory as source 
9. run the ‘Start’ class as a Java app 
10. type in the url http://localhost:8080/wicket/ and there you go! 
The start class is not really part of the Wicket application, all it does is start an embedded Jetty server that runs the demo app.